Country-Code-Picker
Original Article on Dev.to Click below
👇

App's Overview
-
In this article, I am going to demonstrate how to create a simple country code picker in an android application through Kotlin.
-
Also, how to validate phone numbers for every country possible.
Table Of Content
Project Setup
- Add the below line of code in
build.gradle (project)underallprojects.
maven { url "https://jitpack.io" }
The code snippet will look like the one below :
allprojects {
    repositories {
        google()
        jcenter()
        maven { url "https://jitpack.io" }
    }
}
- Dependency to be added : Add the dependency below in
build.gradle (Module)
implementation 'com.github.joielechong:countrycodepicker:2.4.2'
The code snippet will look like the one below :
dependencies {

   ...
    other dependencies
   ...

    /* Country Code Picker Dependency*/
    implementation 'com.github.joielechong:countrycodepicker:2.4.2'
}
App's UI
The app's UI is broken into two parts :
Explanation of ccp :
- The below code snippet shows the implementation of the country code picker through the
.xmlfile. The below code snippet is not customized, it is the naive form of ccp but it will work completely fine in the android application. We shall see the customization in the next section of the blog.
-
Customization of ccp in .xml file
-
app:ccp_defaultNameCode="IN"-ccp_defaultNameCodeattribute will set the the default country of the ccp spinner. -
app:ccp_defaultCode="91"-ccp_defaultCodewill similarly set the default country code in the spinner. -
app:ccp_textColor="#1C2020"- change the color of ccp according to app's theme withccp_textColorattritubute. -
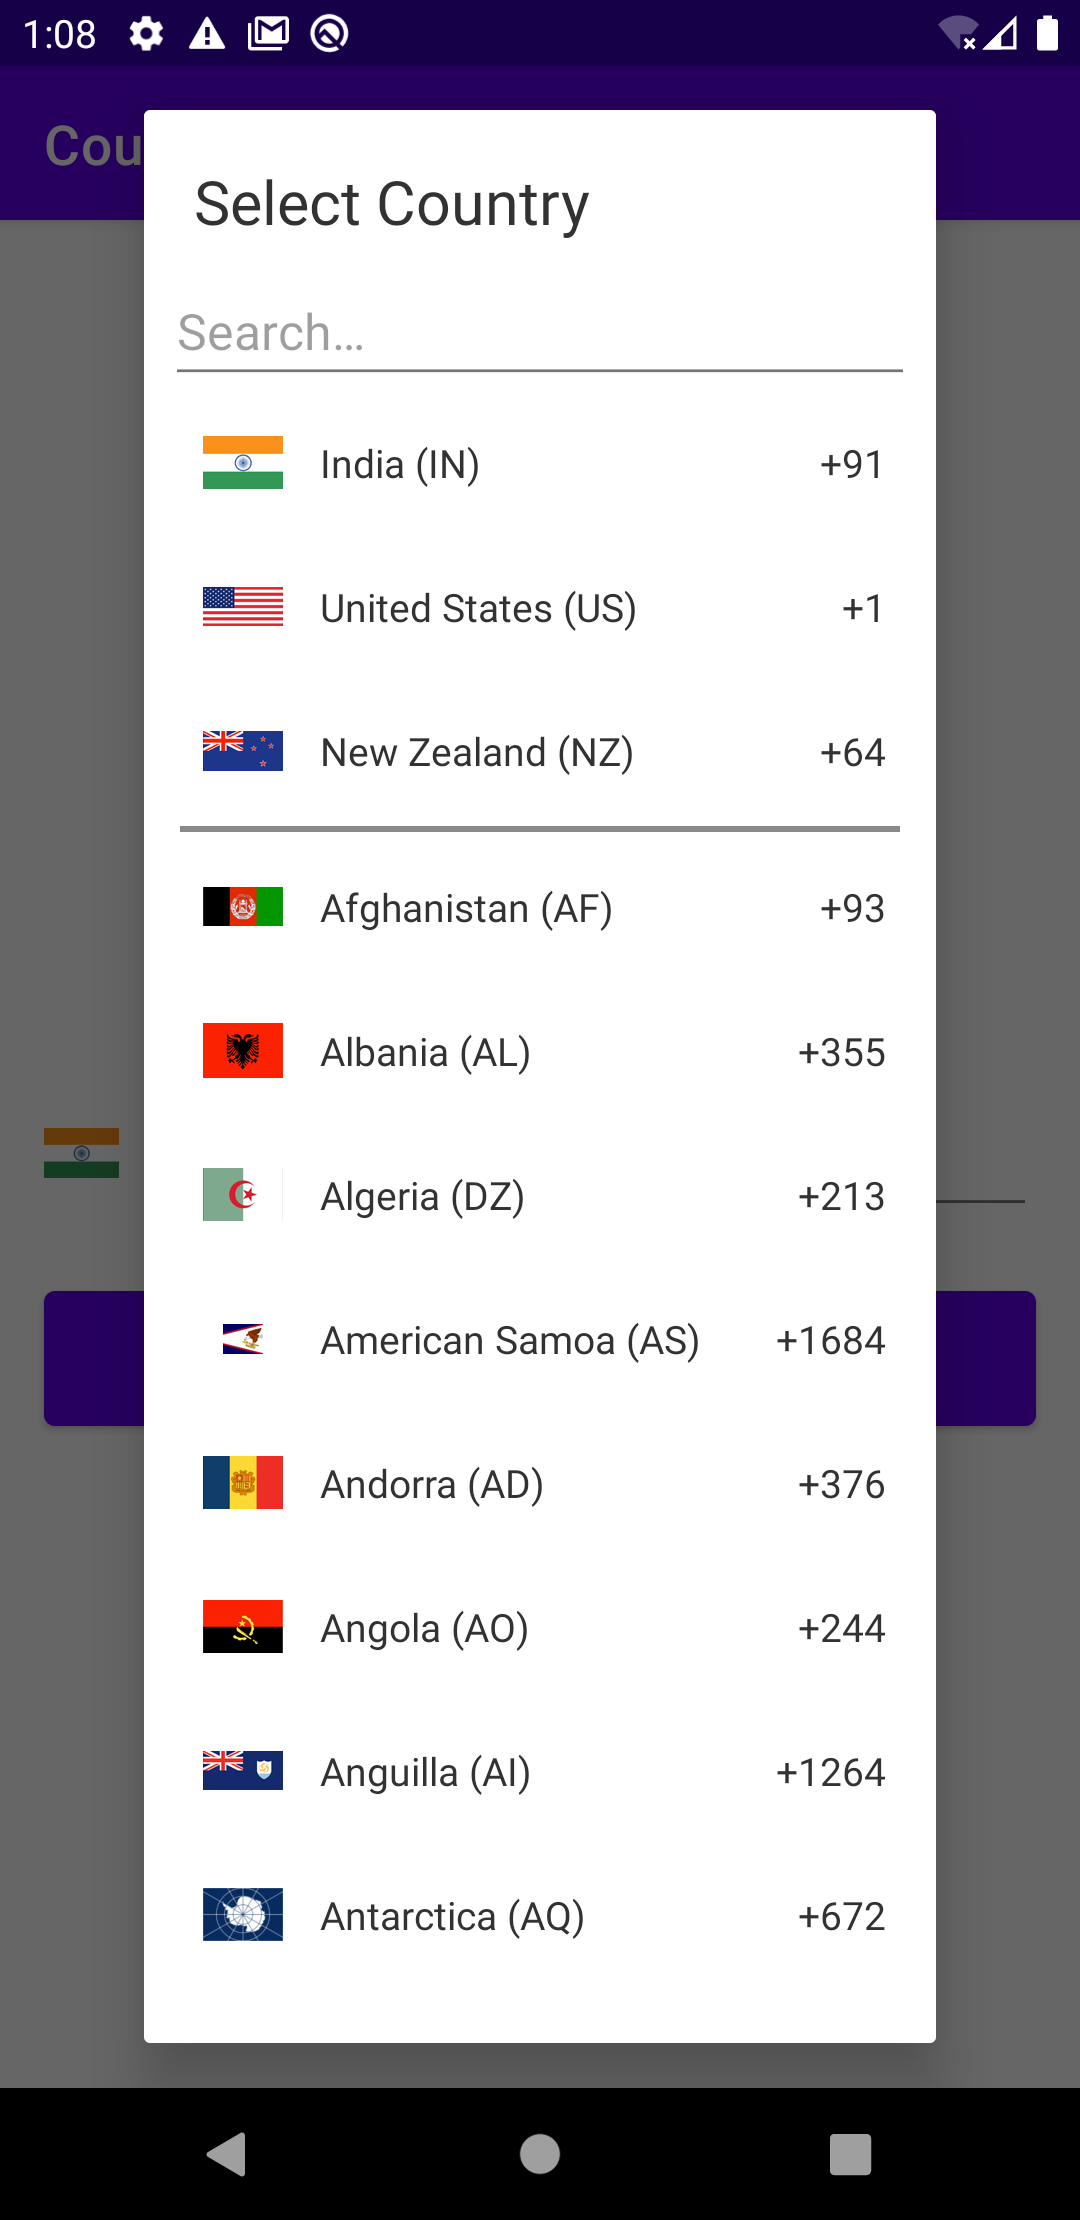
app:ccp_countryPreference="IN,US,NZ"-ccp_countryPreferencewill set some of the preferred countries on the top, so that they will be easily accessed. seethe exaple below :
-
The customized code snippet :
">
There are many attributes present in order to customize the ccp, you can get to know about them all in it's documentation here.
Complete .xml file (activity_main.xml) :
App's Backend
- Let's first link all the UI components with
MainActivity.kt
val ccp:CountryCodePicker = findViewById(R.id.ccp)
val edtPhoneNumber: EditText = findViewById(R.id.edtPhone)
val btnOTP: Button = findViewById(R.id.btnSendOTP)
- Tell ccp which edit text should be registered for phone numbers, use the below line of code
ccp.registerPhoneNumberTextView(edtPhoneNumber)
-
Now, let us create a function to check the validity of the phone number entered wrt the country code selected.
ccp.isValidwill check whether the phone number is correct or not.
The function looks like :
private fun checkValidity(ccp: CountryCodePicker): Boolean {

        return if(ccp.isValid) {
            Toast.makeText(this, "number " + ccp.fullNumber + " is valid.", Toast.LENGTH_SHORT).show()
            true
        } else {
            false
        }

    }
The function returns true if phone number entered is correct otherwise it will return false.
- Finally, at last we will handle the button click and we are done to see the magic.
    btnOTP.setOnClickListener{

            if(checkValidity(ccp))
            {
                //Change with your own functionality
                Toast.makeText(this, "OTP Sent", Toast.LENGTH_SHORT).show()

            }else{
                Toast.makeText(this, "Please enter a valid phone number", Toast.LENGTH_SHORT).show()
            }

        }
If the checkValidity() function returns true it will show a toast OTP Sent, you can change it with your function.
Writer's Support
- If you find the article useful show some
❤️ by staring some of my repositories and following me on dev.to and github.


